Early in the 2014-2015 school year, my class was invited to take on the task of developing some new playground features for our preschool playground. The playground for the older children - kindergarten through 8th grade - was scheduled to get several new large pieces, and the preschoolers certainly deserved a little something special too. So we happily accepted the task of bringing a little joy to our littlest students.
And, of course, this would provide a fantastic opportunity for a little design-thinking-based problem solving. Our trajectory went a little something like this:
In
January, I presented my 7th graders with photos of the preschoolers at play... on field trips, out on their current playground, etc. (Being a preschool parent myself, I had easy access to class pictures.) With those pictures, they practiced making initial observations: What are the children in the picture doing? Why are they doing it? What do you wonder about what they're doing?
In
early February, we visited the preschool classes themselves, to observe and interview the preschoolers and their teachers.
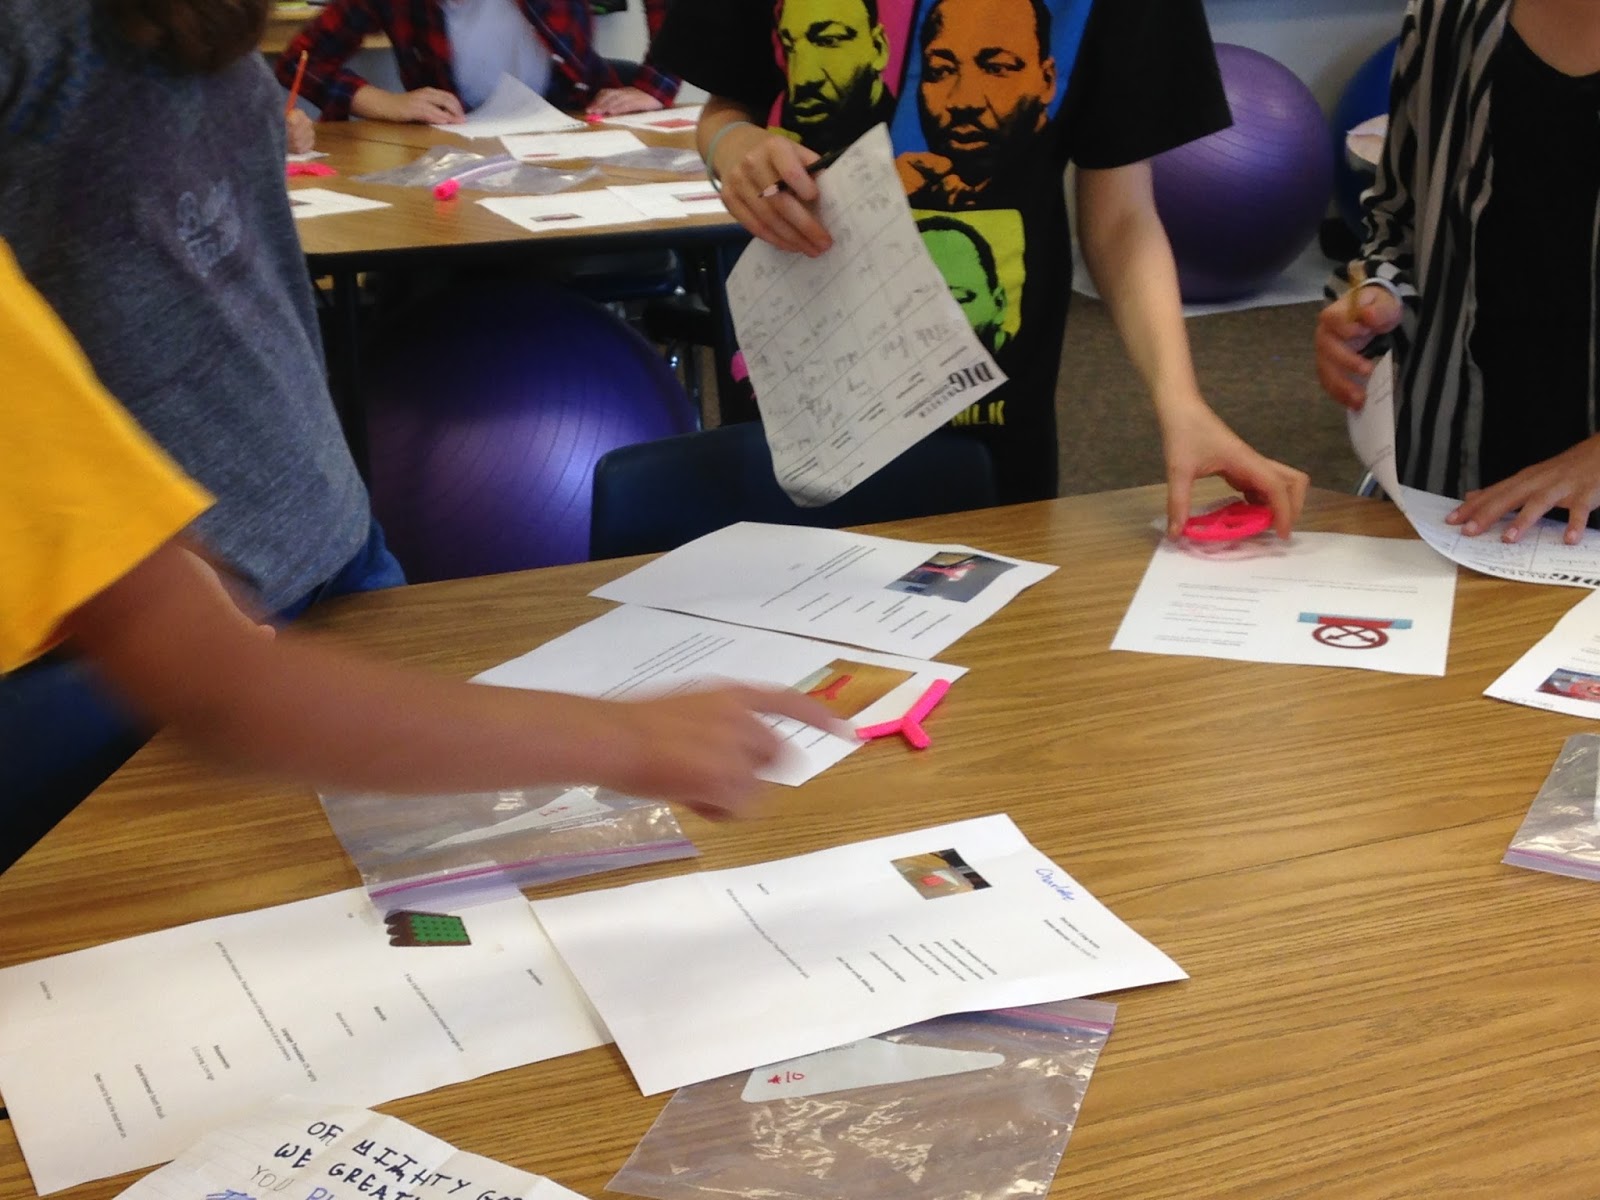
Later in February, my 7th graders gathered again to debrief and identify some patterns in my students' observations.
- We followed a bit of the "5 Why's" protocol for instances where preschoolers or their teachers made specific requests for their playground. You can see my discussion example in the image below.
- We also identified our preschooler "Archetypes" - my 7th graders identified 6, with some overlap among them: Creative Pretend, Athletic/Active, Engineer, Destroyer (pretty sure my son helped inspire that one...), Artistic, and "Real Life" Role Play.
In
early March, my 7th graders brainstormed play ideas around each of those specific archetypes...
- I wrote one archetype on each whiteboard table in my room, and they brainstormed directly on the tables, spending about 5 minutes at each table.
- Each student then chose which archetype most resonated with them, and spent an additional 10 minutes brainstorming just at that table.
- For that 10 minutes, they brainstormed onto Post-It Notes, with encouragement to sketch instead of writing words.
- We gathered up all of the Post-Its and sorted them according to axes of "Easy to Build" vs "Delightful."
In
late March, we revisited these Post-It Notes. I'd transferred them to a sheet of butcher paper for storage, while doing some executive culling, which I told my 7th graders I'd be doing.
- I asked each student to select a few Post-It Notes that particularly spoke to them, and expand those sketches into more detailed ideas. They drew some beautiful next iterations.
- Each student got 3 yellow tags and 3 orange tags, to "vote" for the ideas they thought most likely to meet our clients' needs and most likely to (something else that I don't remember... sorry).
In early April, I went out to the existing preschool playground to take some pictures...
I printed those pictures large - on ledger paper - and there my students drew the first round of prototypes that would be presented to our clients...
In the picture above, you can see prototypes of enhancements to be made to our clients' playhouse, painting the trip-hazard ledge around the playground, outdoor building blocks, and traffic signs for our clients to use while dashing around on their scooters. While sharing ideas with the preschoolers and their teachers, we got some great feedback on which ideas were most useful and exciting, and how to make some tweaks that would both better serve their needs AND better align with licensing requirements for early childhood facilities!
In late April, (after I also talked privately with the head of our primary division and the coordinator of our licensing) we put together final prototypes and proposals for materials, costs, and placement. This is where the real labor started!
The most complex prototype was definitely for the music board. The 7th graders created a full-scale prototype on butcher paper, including measurements for pipe sections to create a marimba scale. Another group built blocks out of cardboard to demonstrate the size of their suggested outdoor foam blocks, and another built cardboard models of the scooter traffic signs they hoped to make.
Finally, in May, with budget approved and material acquired, we started construction. This was an intense sprint to finish and install our products before the school year ended! Students - including 7th graders in other classes! - stayed after school to paint, and students from across the middle school joined during lunches and free periods to chip in.
Measuring, Painting, Laying out the Music Board
Taping, Painting the traffic signs
Priming, Painting the ledge (this included adding grit to the paint to reduce slipperiness)
The Final Music Board! (still up in my classroom)
The Traffic Signs! (also still up in my classroom)
Friday of the second-to-last week of school, we finally installed the pieces! (Although the ledge painting was done a couple weeks before, to great results! Not a single trip-and-fall or slip since the painting!)
Introduction to our clients!
Before: After:
The Music Board installed!
So,
from January to June, my 7th graders observed, brainstormed, empathized, prototyped, and finally built these amazing features for our preschoolers! Of course we didn't get to build
every idea, but the three final products - the non-slip bright yellow ledge, the music board, and the scooter traffic signs - were immediate hits among both our teacher and preschool student clients.
My 7th graders developed some great increased tool and craftsmanship skills, as well increased ability to observe and understand the needs of their design clients. They spent some significant time with materials sourcing and budgeting, too!
This projects took a significant amount of class time, plus a LOT of extra time at the end for my students (lunches, recesses, one day after school) and for myself (meeting with administration, facilities, other teachers), and I think both the product outcomes and learning outcomes were well worth it!